Electronics")
How to update the font for Arduino OSD Shield - MAX7456
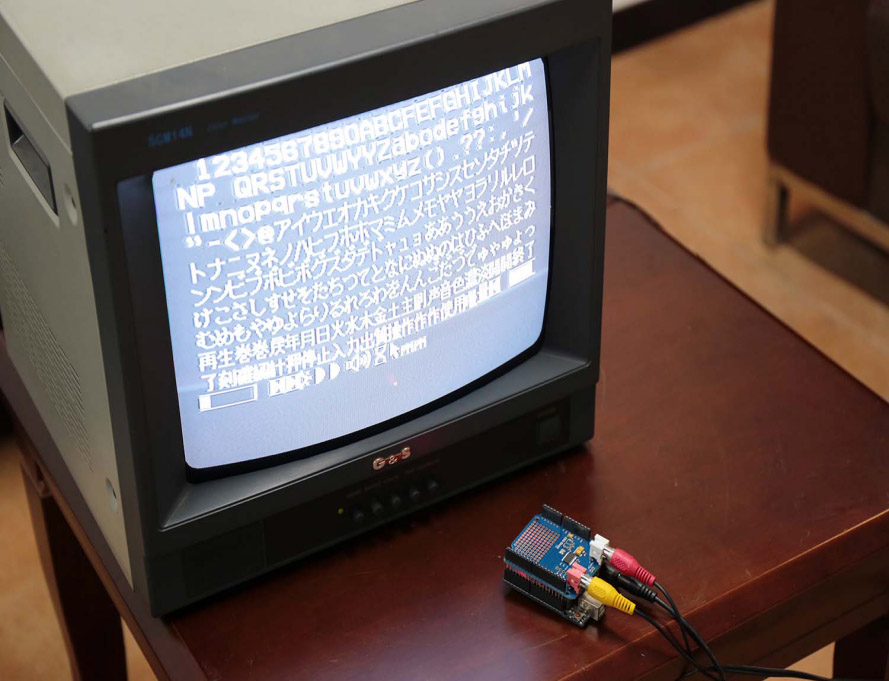
The OSD Shield is a MAX7456 OSD (On Screen Display) shield for Arduino. Users can easily interrupt and overlay text and/or graphics onto a video signal (PAL or NTSC). The MAX7456 comes with the default font, you may not particularly like the existing font, or the default font can not meet your needs. Now you can design your own font and update to your OSD Shield.

Hardware and Software Required:
How to do
Step 1: Software preparation.
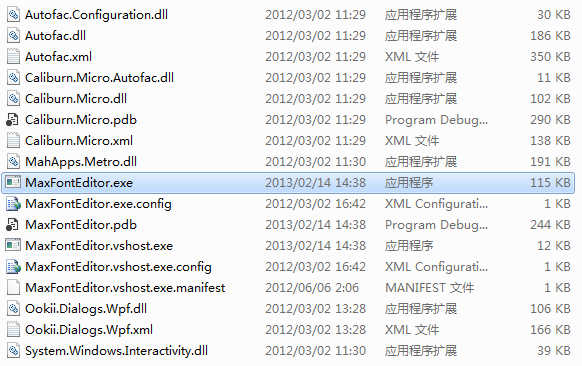
Download MaxFontEditor and unzip it, then find MaxFontEditor.exe in the folder and open it.
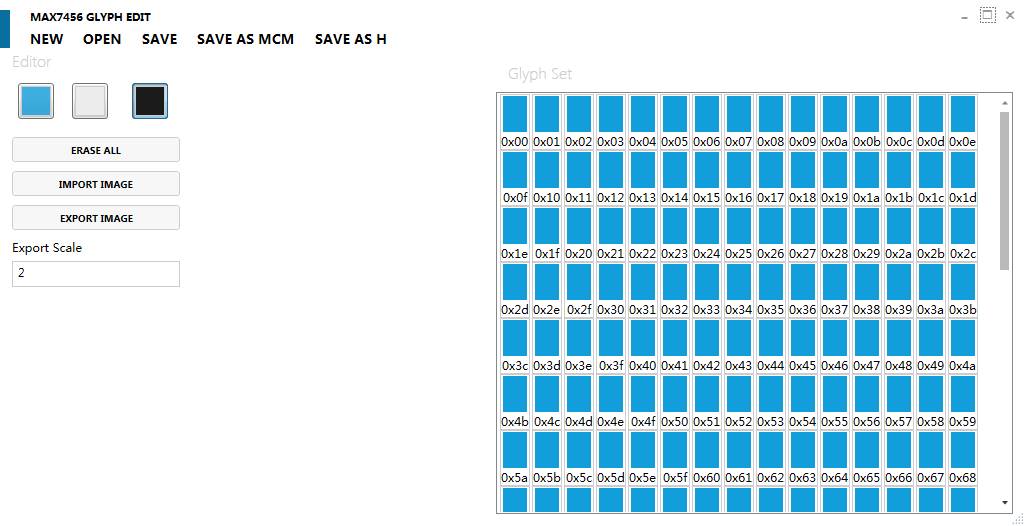
In order to be able to see the interface in detail, you need to maximize the interface. In the upper left corner of the interface, click the new option, and then 256 blue squares will appear in the right area. In the 256 small squares, in addition to the first (address is 0x00), the rest can also edit the font you want.
NOTE: The first small box is able to edit the font, but it is the background as a screen display. If you want the screen to show the background you need, you can edit it.
Step 2: Edit the font.
Here we provide two methods. The first, without the need for other drawing tools, directly paint each box in the editor. Another way is to use the drawing tools such as photoshop, this method needs less work.
The first method:
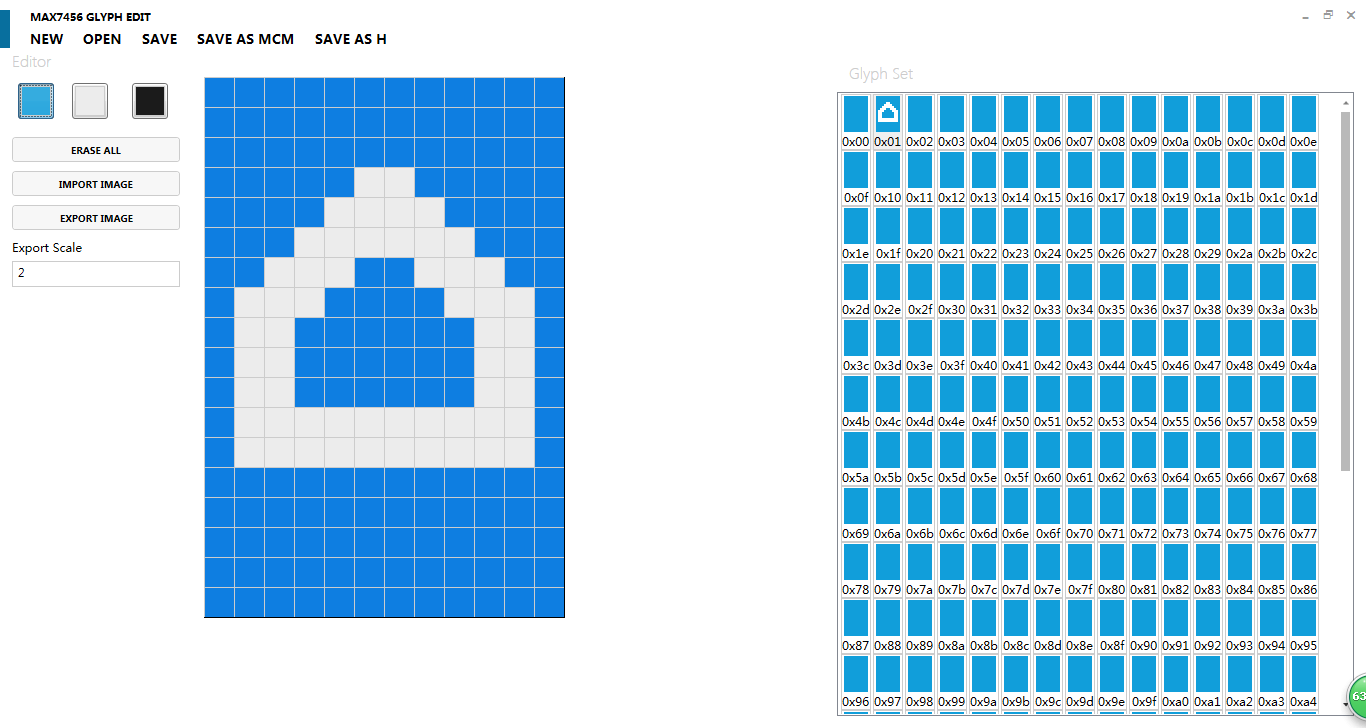
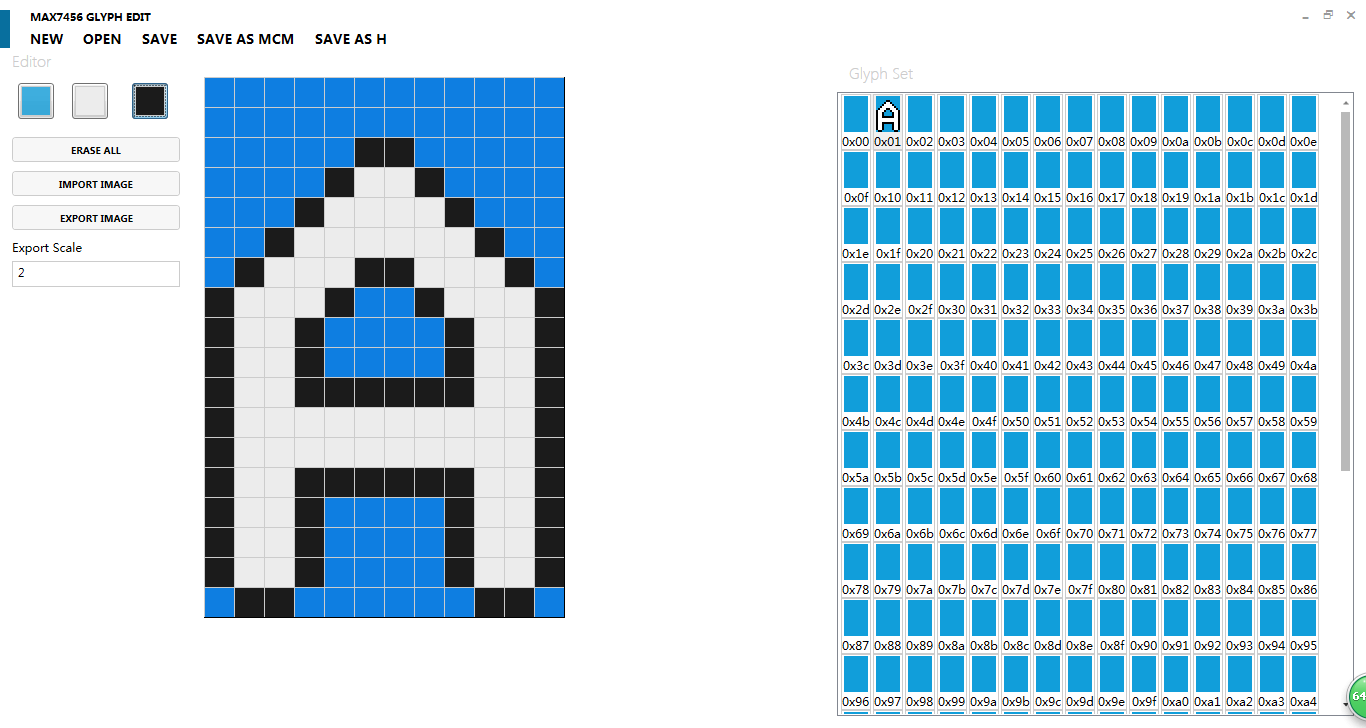
1.In the right area, casually choose a small box, here we choose the second (address 0x01). Click on this small box, in the left area will appear magnified version of the blue background small box. It consists of a width of 12 and height of 18 small grids, each small grid representing a pixel that composes this picture . So the image size that the editor can only support is 12px wide by 18px high.
2. In the left area, select the white box (or black box), and then in the enlarged blue background box to draw the image you want. In the process of drawing, if you want to delete a pixel, you can choose the left side of the blue box, and then click on the pixel you want to delete, and then it will become a blue grid.
3.After the character is drawn, click "SAVE AS H" on the top and save the file to your computer. Here you have to remember the path you have stored, and you will be able to find it at once.
The second method:
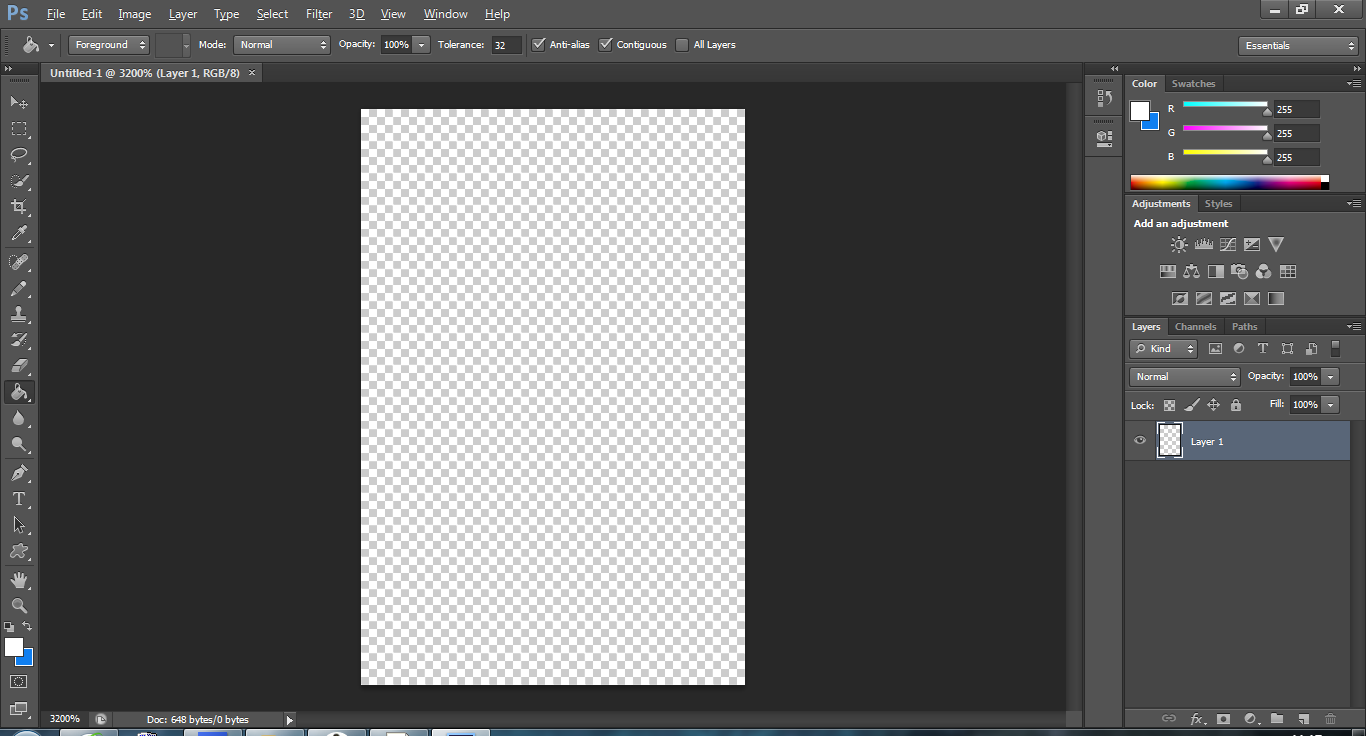
1.Open the drawing tools, here we choose photoshop. Under the File menu, select the option New. In the pop-up dialog box, change the Width and Height values to 12 pixels and 18 pixels.
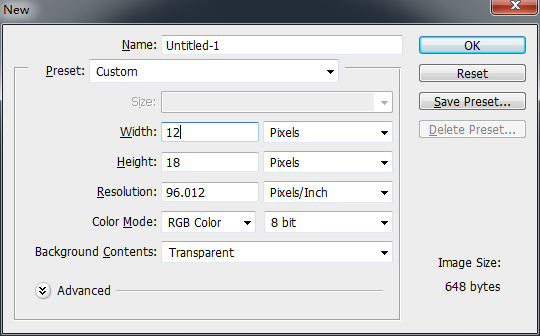
2.When the settings are complete, click OK. Press the "Ctrl" and "+" buttons on the keyboard to zoom in on the picture.
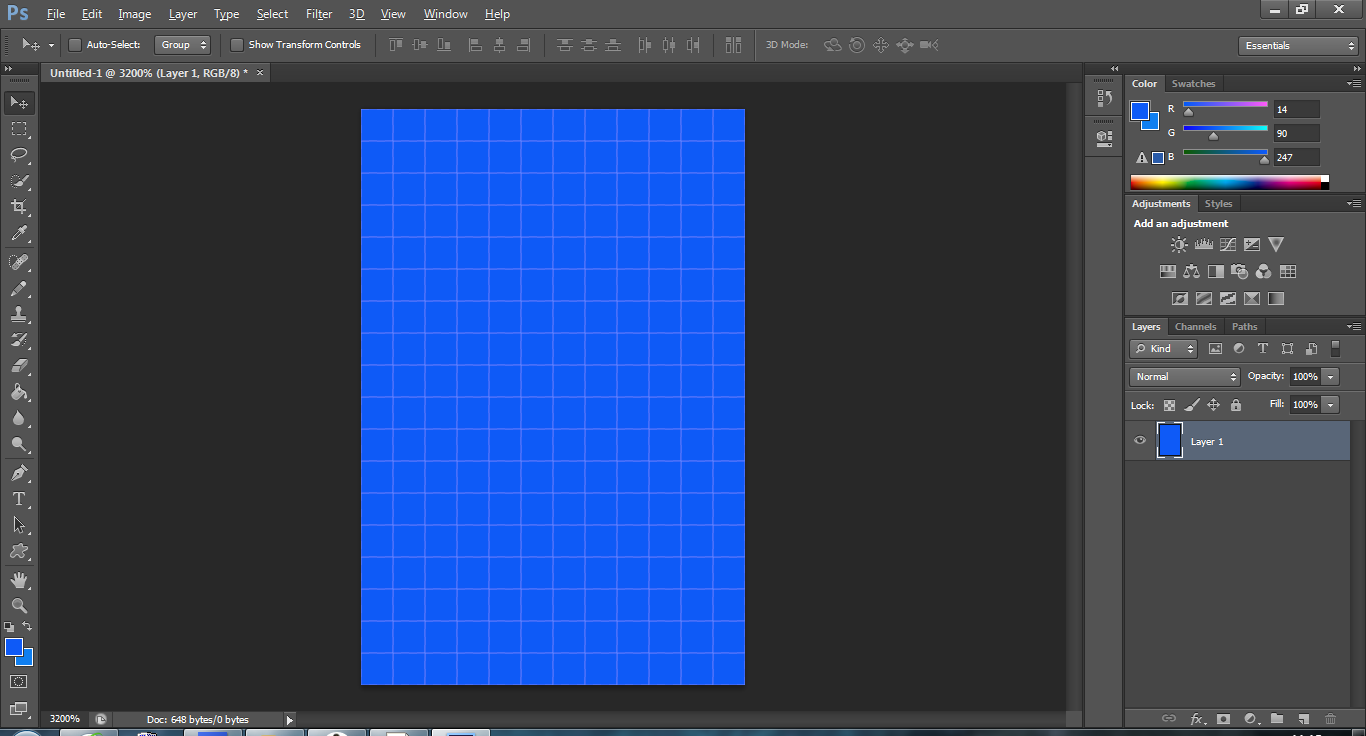
3.Select the Paint Bucket Tool in the toolbar on the left, select the color tool and select any color other than black and white in the Color Picker. Because any non-black/white pixel is considered transparent background when importing in MAX7456 Font Editor. Click on the middle of the picture, the background color of the picture will become your choice of color.
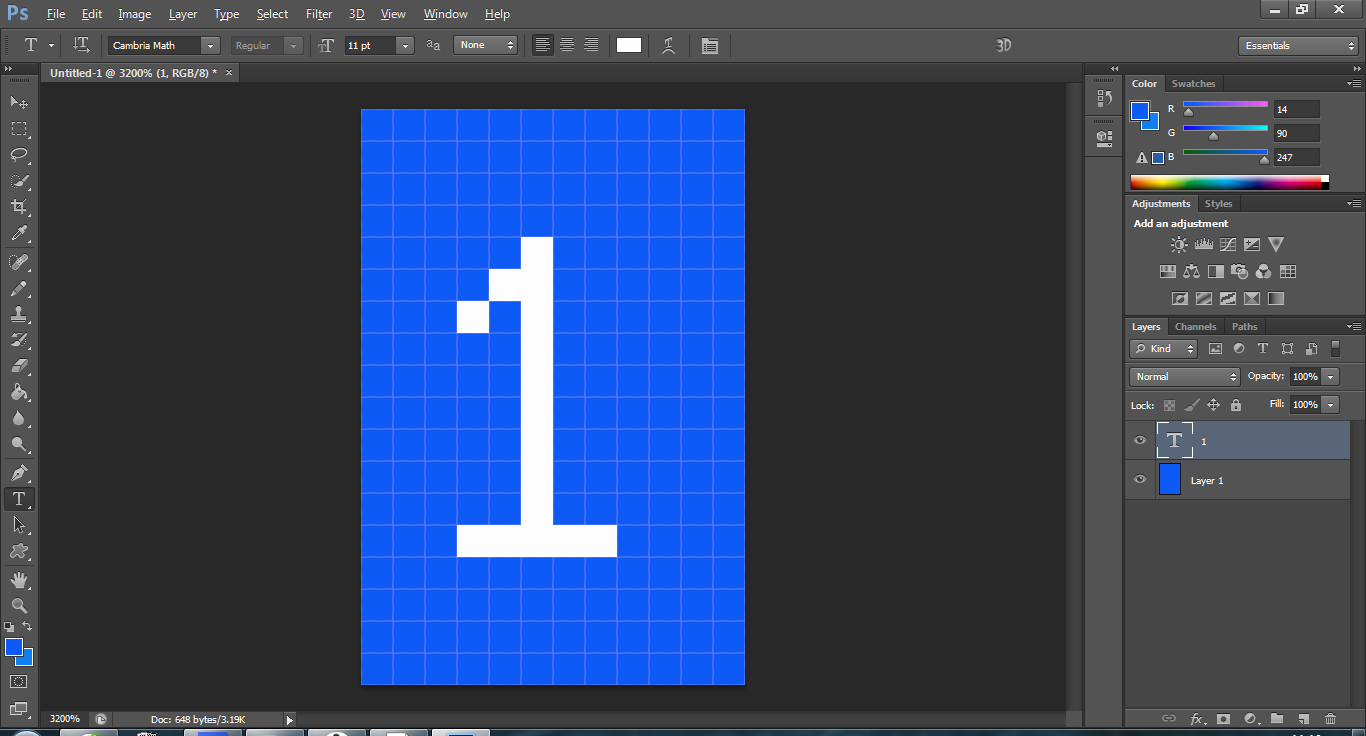
4.In the left side of the tool, select the font editing tool and click the right mouse button to select Horizontal Type Tool, and then select the font and size on the top, and the optimization program is selected as "None". After setting, click on the picture and enter the characters you want on the keyboard. Here we select “1”.
5.After the drawing is complete, select "Save As ..." under "File." Name the file and format "PNG". Save to your computer and remember the location of the store so that you can find it right away.
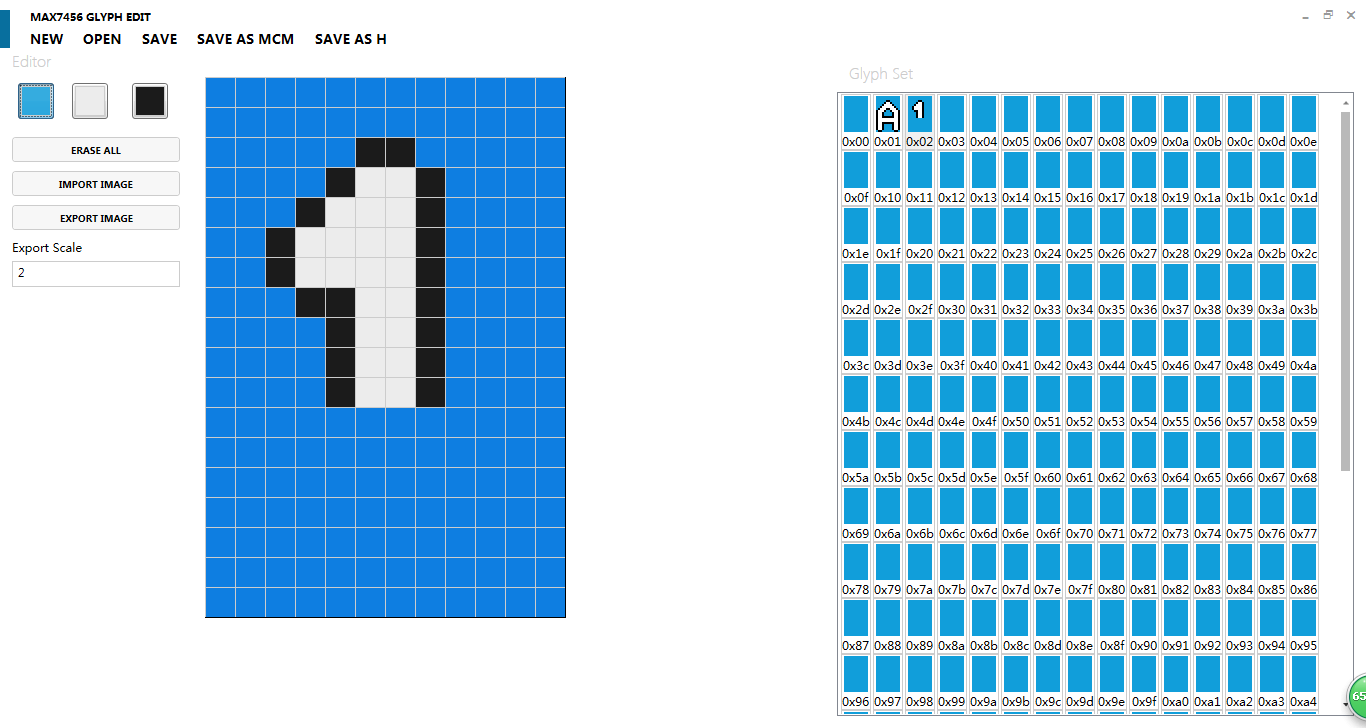
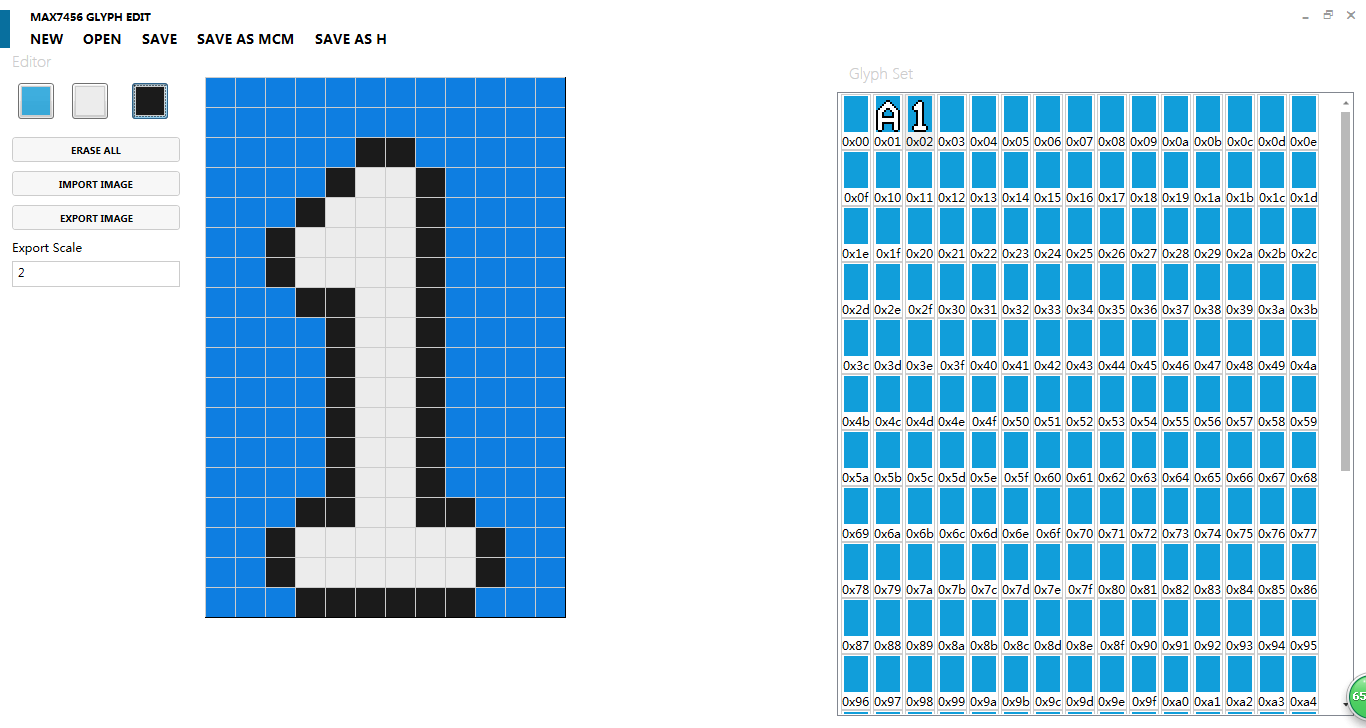
6.Open the MaxFontEditor, click the "NEW" option, in the right area casually choose a small box, here we choose the second (address 0x01). Click on this small box, in the left area will appear magnified version of the blue background small box .Click the "IMPORT IMAGE" option on the left and find and open the image you just saved. So that pictures saved in photoshop will appear in MaxFontEditor.
7.Click "SAVE AS H" on the top and save the file to your computer. Here you have to remember the path you have stored, and you will be able to find it right away.
Step3: Uploading the font
1.Stack the OSD shield on the Arduino UNO board, then plug in the USB cable from your computer to the Arduino board.
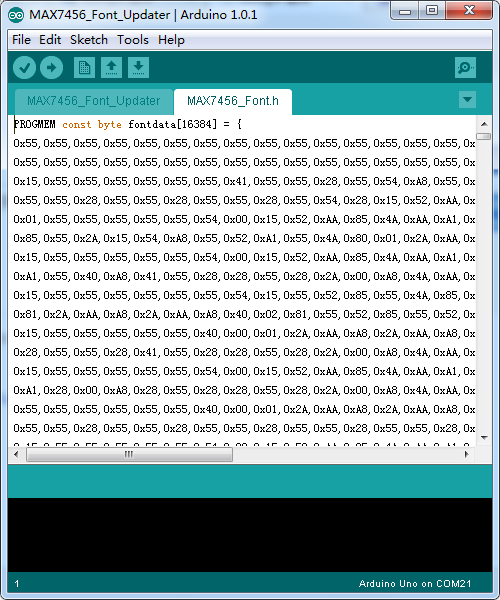
2.Download the MAX7456_Font_Updater code and use the Arduino IDE to open a file named MAX7456_Font_Updater.ino. After opening the interface it will appear two files - one is MAX7456_Font_Updater, the other is MAX7456_Fon.h. Now delete all data in MAX7456_Fon.h. Find the file with the suffix named .h saved in MaxFontEditor, and then use Notepad to open it. Copy all the data inside and paste it into MAX7456_Fon.h.
3.Select your board type and serial port from the Tools menu. Finally, download to Arduino UNO.
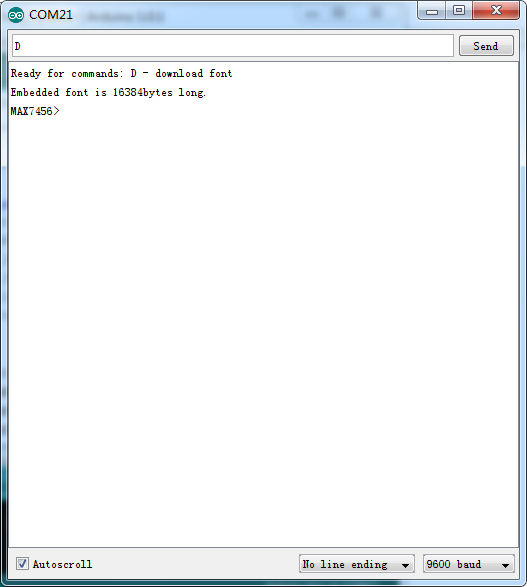
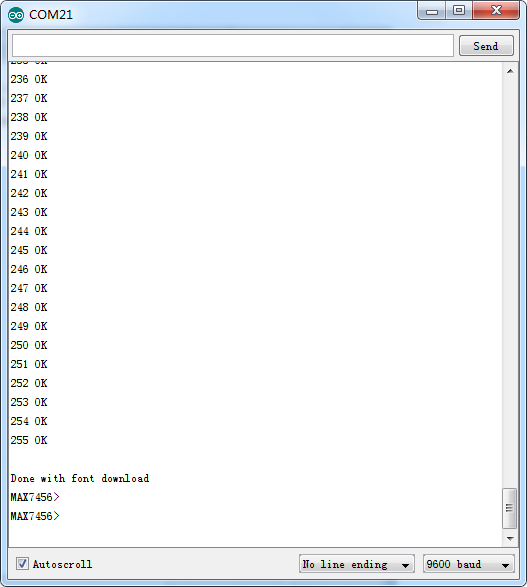
4.Once uploaded to your Arduino, open up the serial monitor at 9600 baud speed. After the serial monitor prints the prompt command, enter "D" in the send field and click Send. Wait a while, the program will download the font to the MAX7456.
Now, connect the OSD Shield to your monitor and you will find that your own edited font will be displayed on your monitor.