 Electronics")
How to export Gerber files from Altium Designer
Many people use "Altium Designer" as their printed circuit board design software. If you want use our PCB service and send .PCB file to us directly. Different Altium Designer version may have compatible problem, and the best way is provide us Gerber files. Here is the guide of how to export the gerber files.
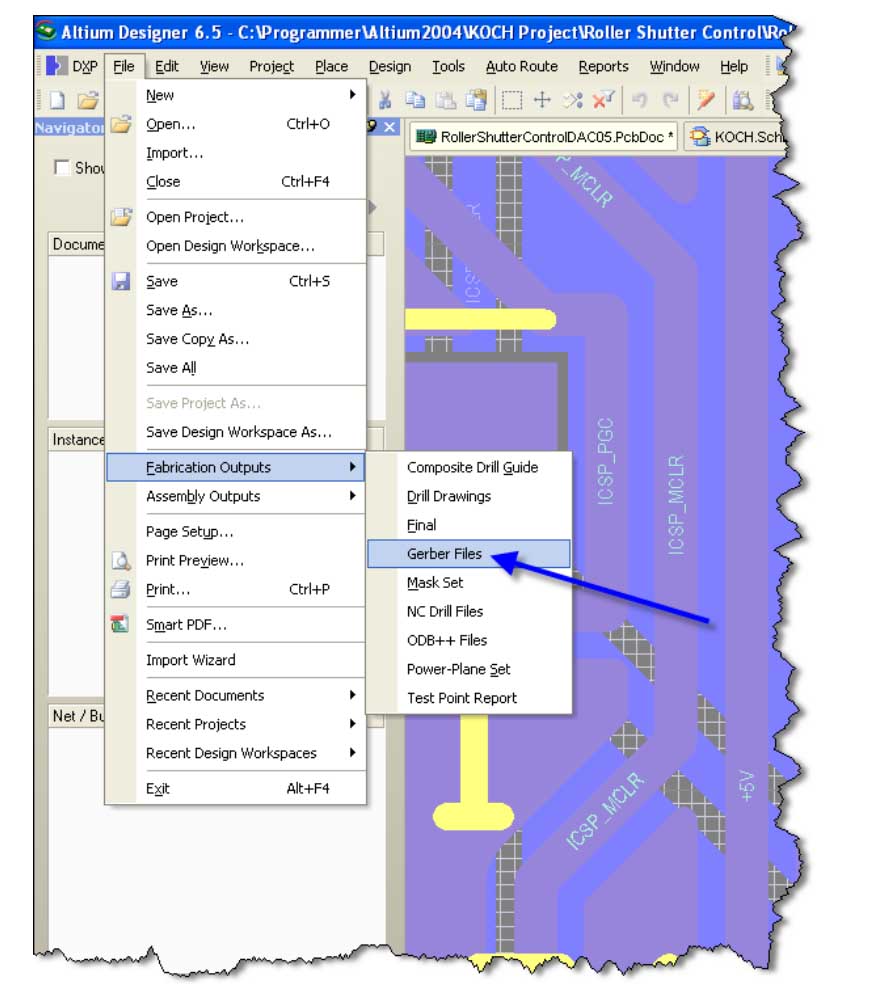
1. Choose 'File->Fabrication Outputs->Gerber Files'
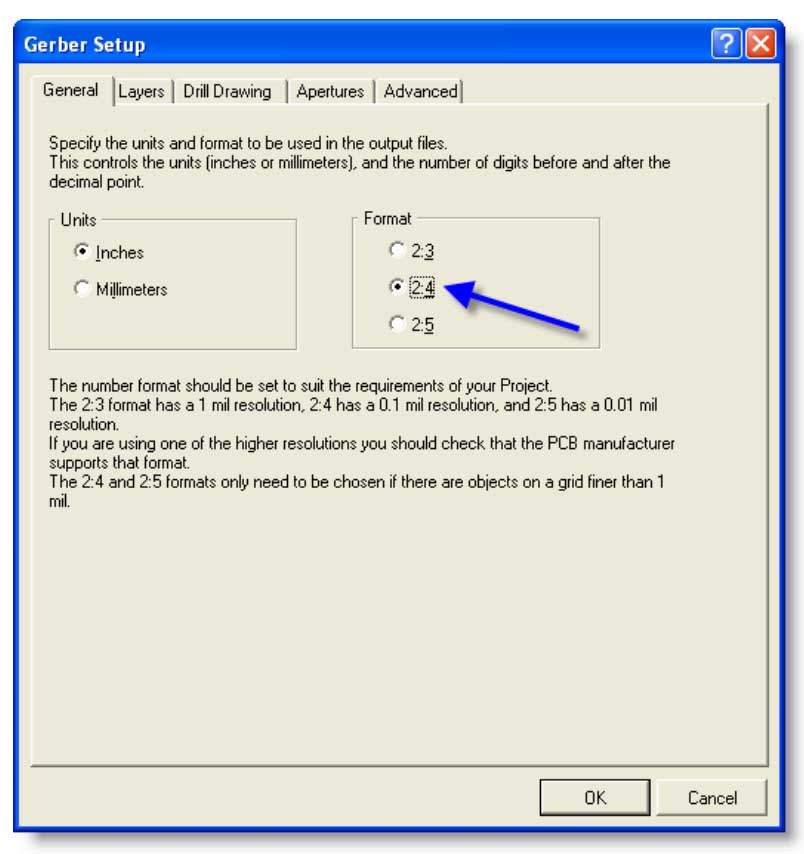
2. General setting - You will see a 5 pages dialog box, select 'General Setting' page and set the precision to 2:4
3. Layer Setting - Include the layers that you want to export.

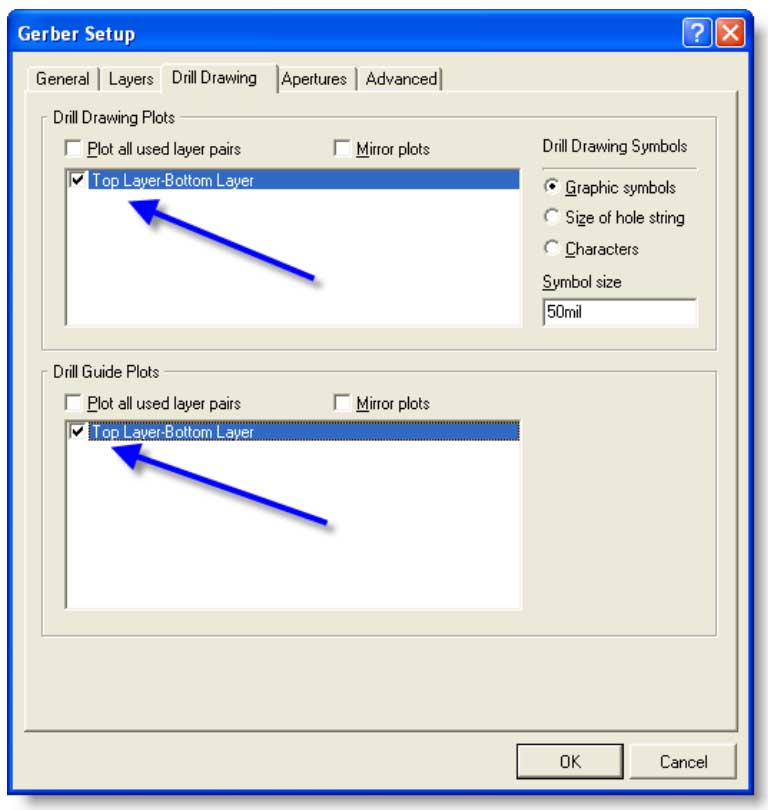
4. Drill Drawing Setting - Select “Top layer-Bottom Layer” for both Drill Drawing Plots
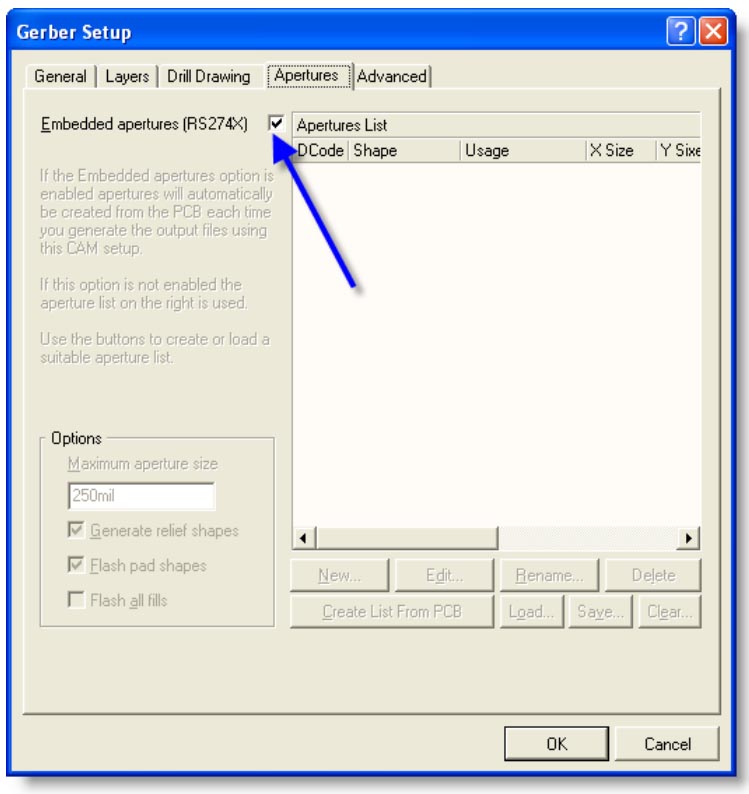
5. Apertures - Select “Embedded apertures(RS274X)”
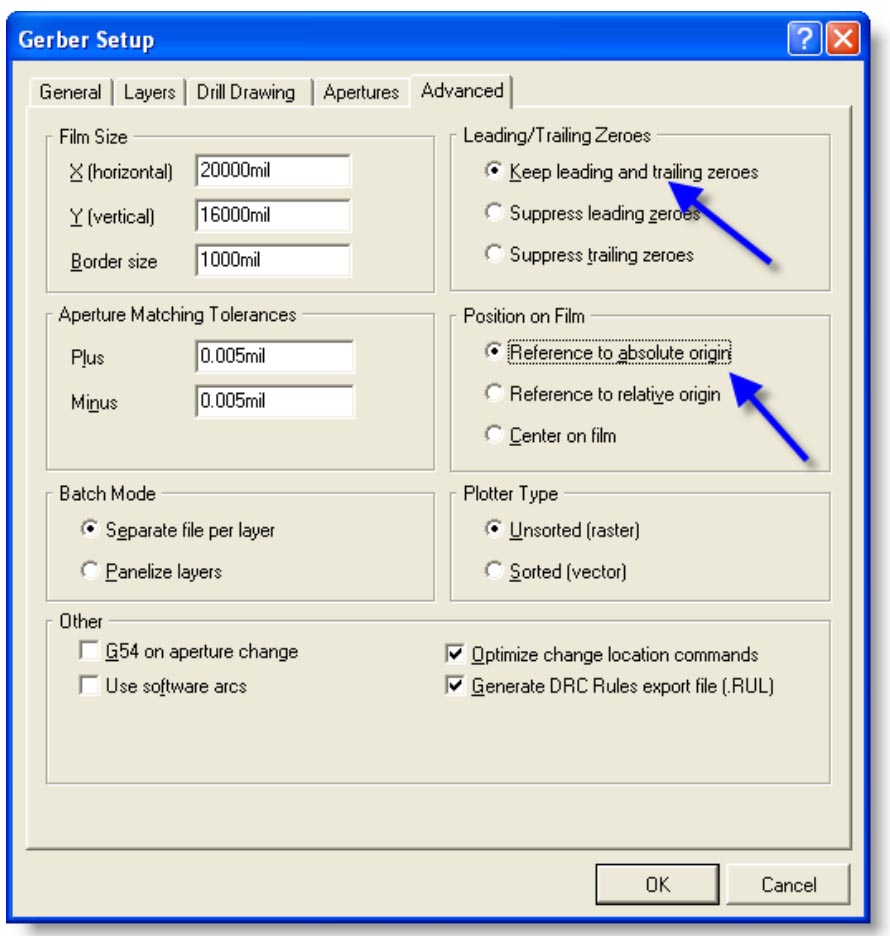
6. Advanced Setting - Set the Leading/Trailing Zeroes to "Keep leading and trailing zeroes" and the Postion on Film to "Reference to absolute origin" and then press "OK" to further on.
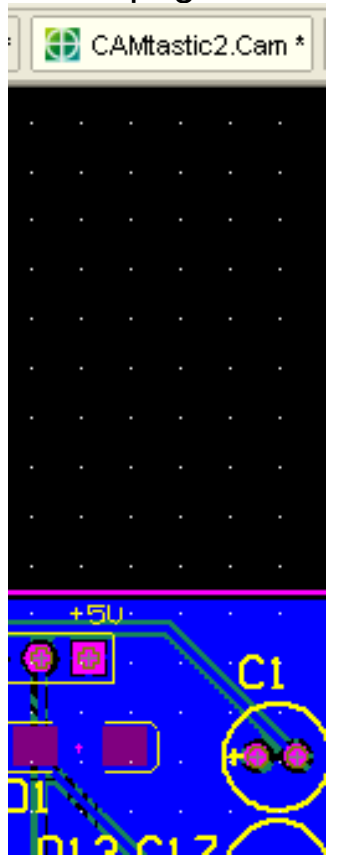
6. A new page called CAMtasticx.Cam will now arrive showing your PCB.
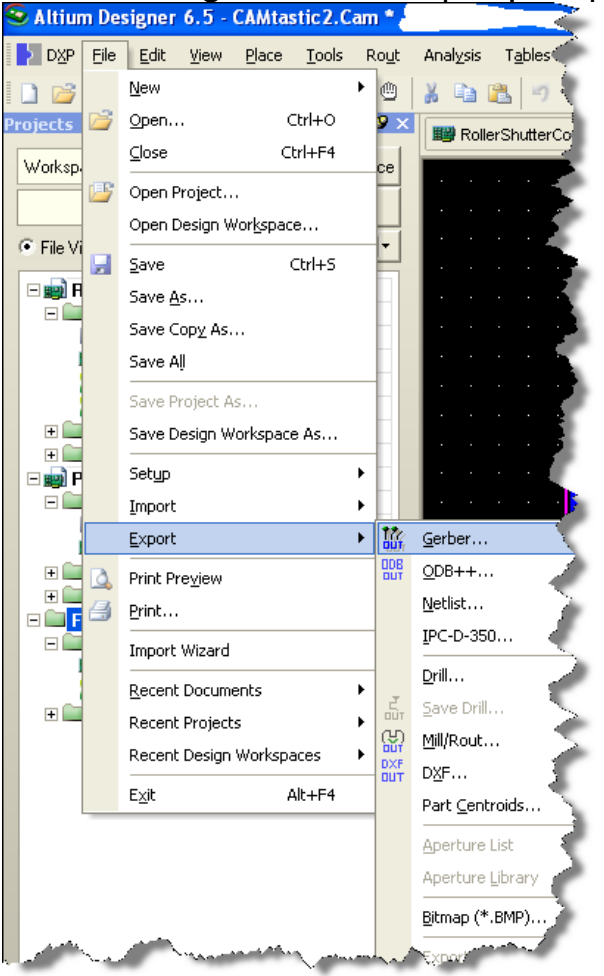
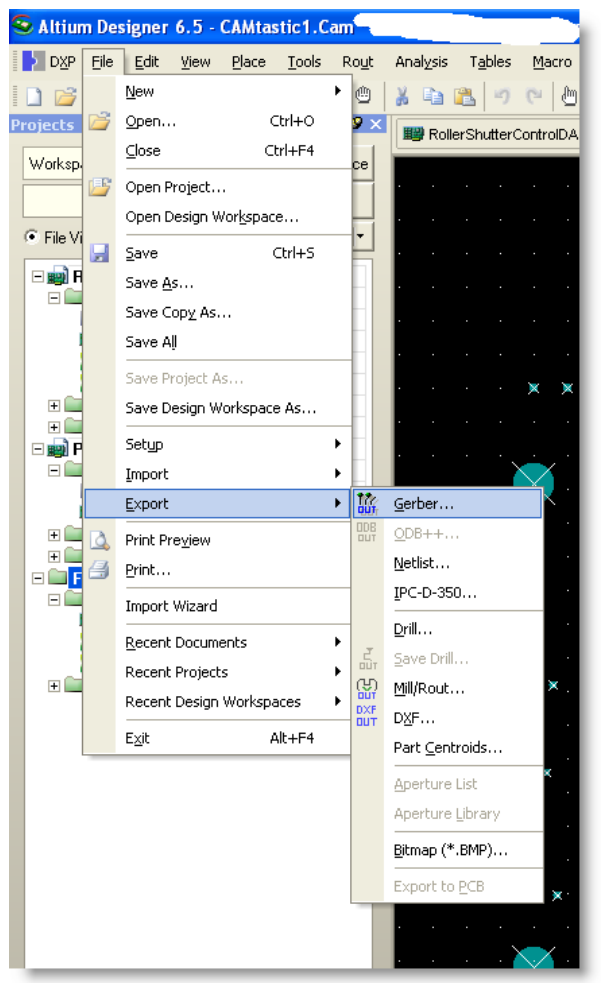
7. Go selecting menu: File | Export | Gerber…
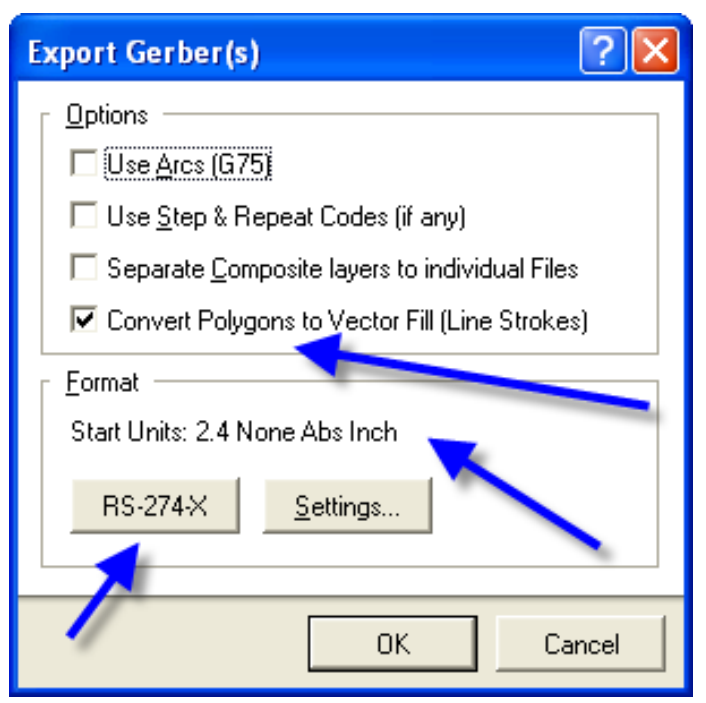
8. In the dialog box be sure to set these settings
Finally Press “OK” and you can select where to put your gerber files for each layer.
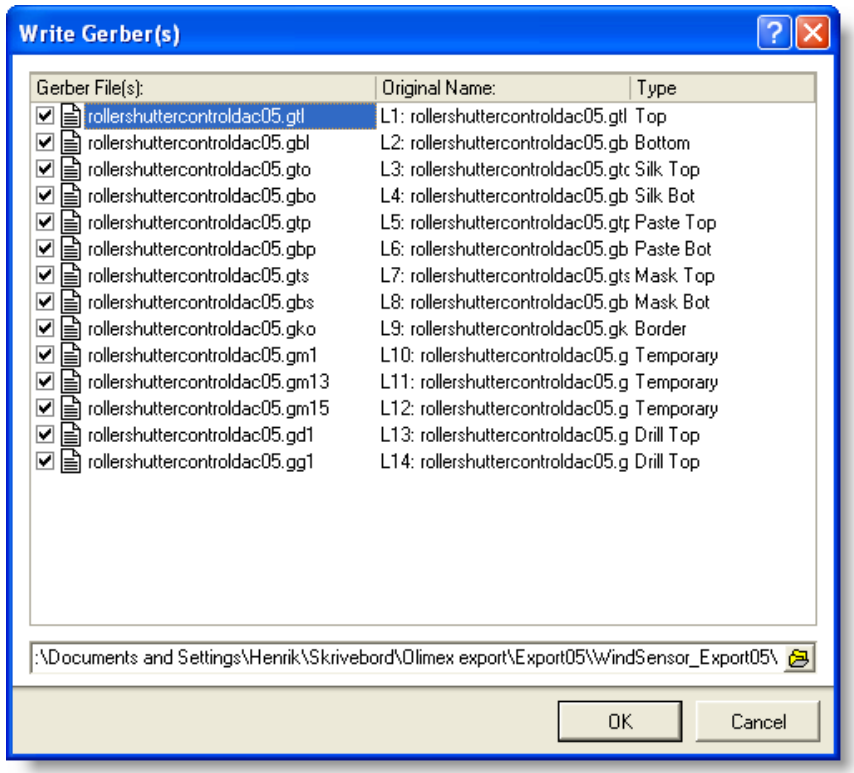
9. Exporting your drill settings
Go back to your design PcbDoc file by pressing the Design page in top of your window

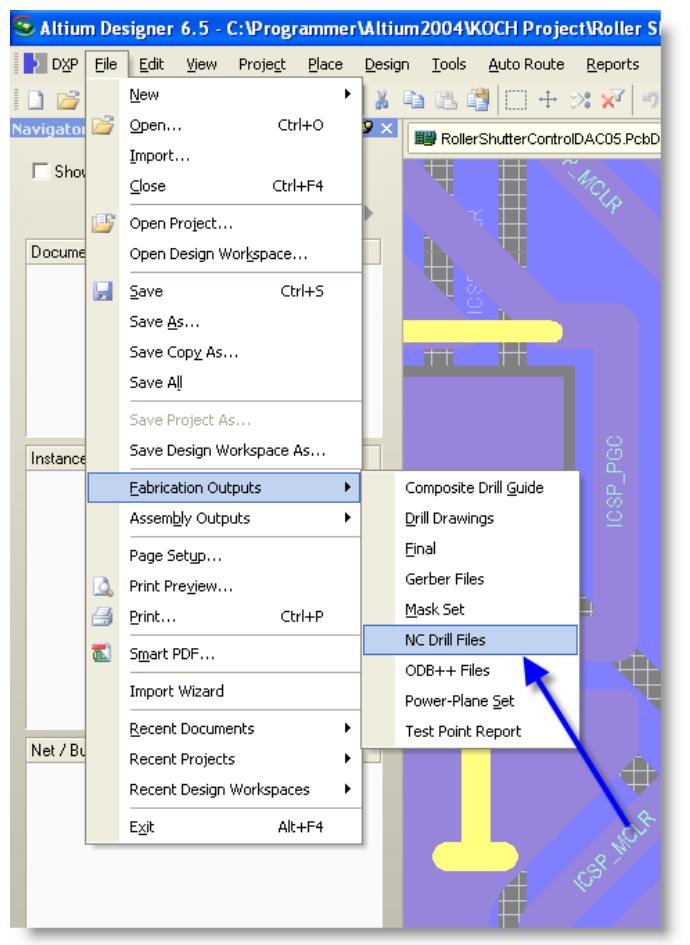
Go to the menu: File | Fabrication Outputs and choose “NC Drill Files”
Setup the following showed by the blue arrows
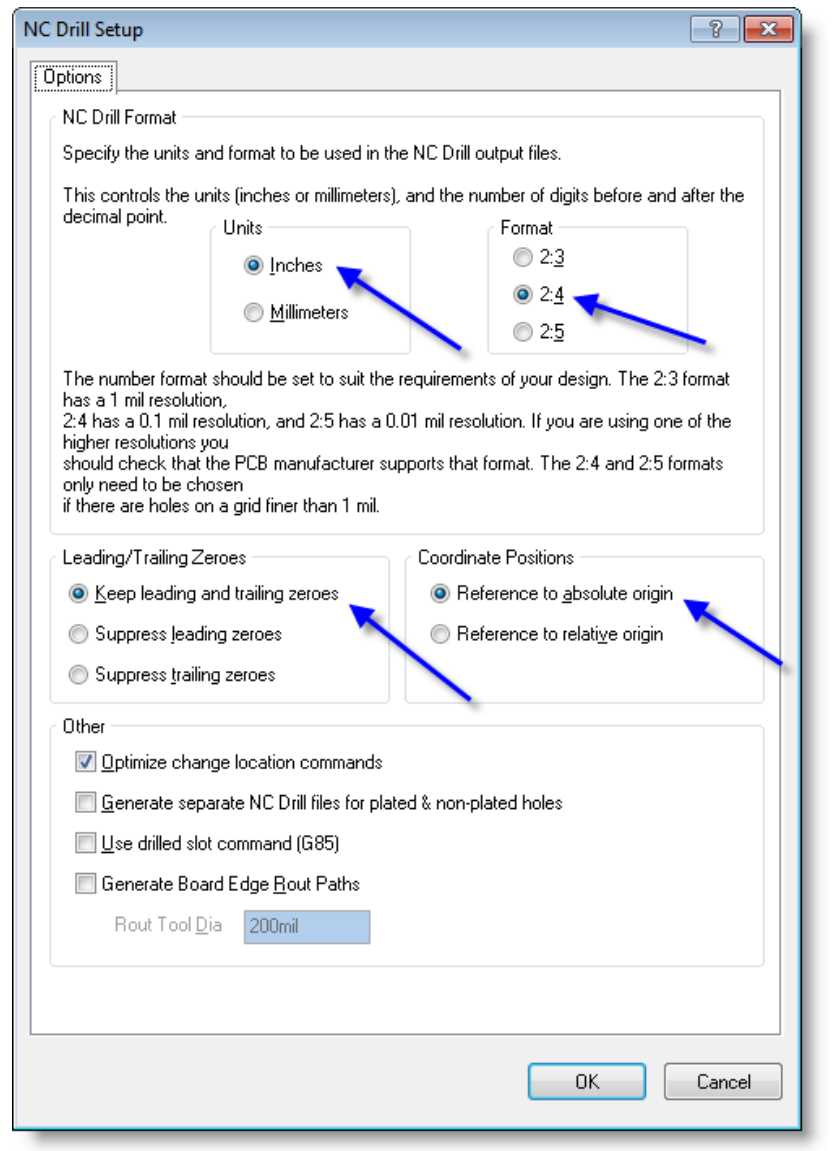
Press OK and the following dialog box will be shown
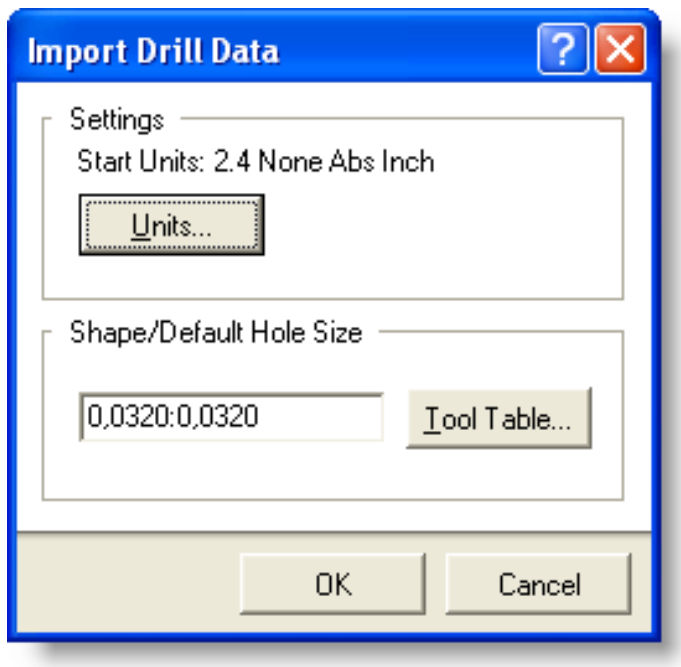
Again press the button “OK”
And another CAM page with all your drillings will be shown. From within this new page
Go to the menu: File | Export and choose “Gerber
A new dialog box will be shown:
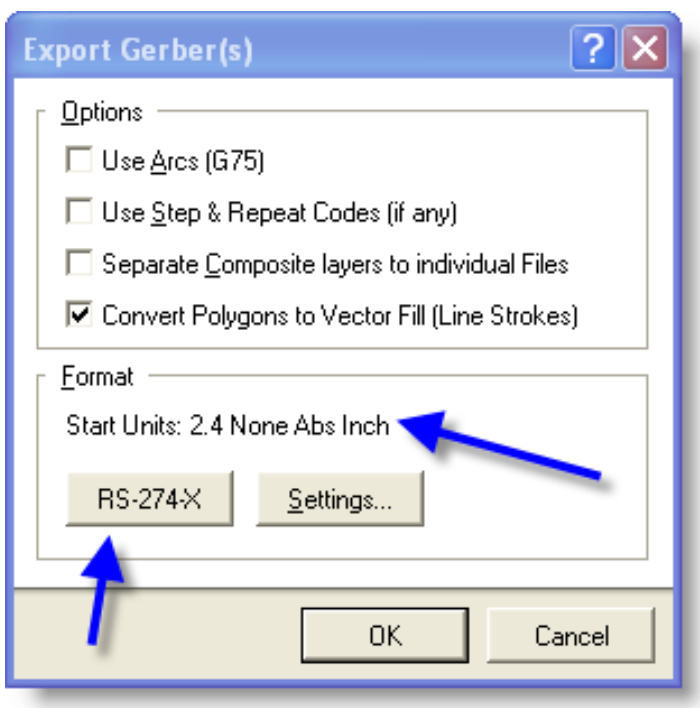
Check that this has been selected.
NB: Be sure that exactly RS-274-X has been selected !!!!!
(default is RS-274 which are not extended gerbers !!)
Finally press „OK‟ save this gerber file